


Docs as Tests is a strategy for using docs to test a product, validating both that the docs are accurate and that the product is functioning as expected. That’s a great aspiration, but what does it look like in practice?
Today, I’ll show you how to validate a UI-based procedure with Doc Detective—a doc testing framework—to make sure that it works as expected. While UI-based procedures are only a piece to the puzzle that is Docs as Tests, it’s the largest unknown for most people, so let’s start there.
(Disclosure: I’m the creator of Doc Detective, but I’ll try to keep this as objective as possible. If you have questions, feel free to reach out in the comments, on social media, or on Discord.)
The setup
For this tutorial, assume you have a simple procedure about searching for American Shorthair kittens:
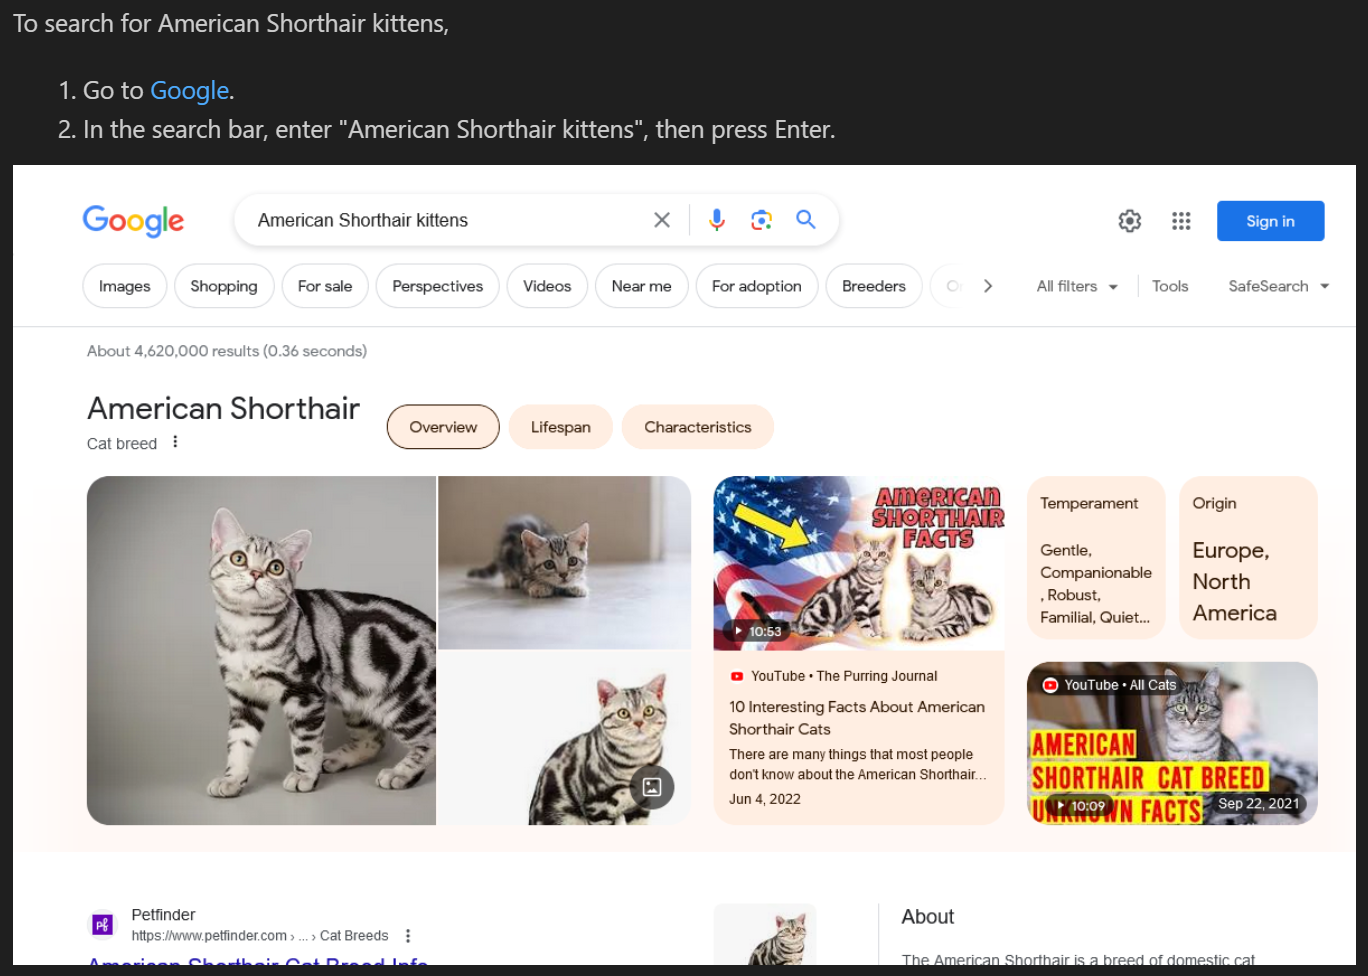
To search for American Shorthair kittens,
1. Go to [Google](https://www.google.com).
2. In the search bar, enter "American Shorthair kittens", then press Enter.

We’ll call this kitten-search.md. Here’s a rendered preview:

Notice that we don’t have an image of the results. We can capture that as part of the testing.
Following the Docs as Tests ideal that each doc is a test spec, each procedure a test case, and each step an assertion, we can break the procedure into the following testable statements:
- Users should be able to navigate to www.google.com.
- There is a search bar.
- After entering text into the search bar and pressing Enter, search results appear.
Additionally, there is the screenshot that we want to automatically capture.
To do all of this, we’ll create a Doc Detective test specification and map each of these statements to actions, then run the test! First though, let’s get Doc Detective ready on your machine.
Install Doc Detective
If you already have Doc Detective installed, skip to the next section.
Before you can get Doc Detective running, you need the prerequisites:
- Node.js 18 or higher. I like using Node Version Manager, or you can use the official installers.
- Git
Once you have those installed, you can clone Doc Detective to your machine and install dependencies:
git clone https://github.com/doc-detective/doc-detective.git
cd doc-detective
npm install
Doc Detective automatically downloads portable versions of Chrome and Firefox to your machine to use in testing. By default, Doc Detective runs tests against Chrome, but you can specify one or more contexts (browsers) to run your tests against if you so choose. For today, we’ll stick with Chrome.
Next up, writing the test!
Write the test
Doc Detective supports writing your tests a few different ways. Today, you’ll see how to write tests as JSON files or in-line with your content. It’s the same test and functionality either way, but the flexibility lets Doc Detective adapt to different users’ needs and restrictions.
First, let’s look at a JSON file version of the test (we’ll call it kitten-search.spec.json):
{
  "tests": [
    {
      "steps": [
        {
          "action": "goTo",
          "url": "https://www.google.com"
        },
        {
          "action": "find",
          "selector": "[title=Search]",
          "click": true
        },
        {
          "action": "typeKeys",
          "keys": ["American Shorthair kittens", "$ENTER$"]
        },
        {
          "action": "wait",
          "duration": 5000
        },
        {
          "action": "saveScreenshot",
          "path": "search-results.png"
        }
      ]
    }
  ]
}
Let’s break down each portion of the JSON:
- The whole object is a test specification, which can include many tests. If all tests pass, the test specification passes.
testsis an array of test objects. We only have one test for this example, so there’s only one object in the array.tests.stepsis an array of actions that you want Doc Detective to perform as part of the test. If all the steps perform successfully, the test passes.
Each step has an action and associated parameters to tell Doc Detective what to do and how to do it. The sequence of steps in this test is as follows:
goTo: Open a browser window and navigate to https://www.google.com.-
find: Find an element on the page that matches the CSS selector[title=Search]and click it.Note: Finding CSS selectors can be tricky. You need selectors to be unique to the elements you’re trying to interact with or you might end up with false positives or fragile tests. To help with that, I’ve created Doc Detective Companion, a browser extension for Chrome and Firefox to help identify CSS selectors.
typeKeys: Type the string “American shorthair kittens”, then press Enter. Enter is a special key, so we have to use special formatting to differentiate it from a string.wait: Wait 5 seconds for the results to load.saveScreenshot: Capture a screenshot of the current viewport and save it assearch-results.png.
You could also write the tests in-line with your content, using comments (or other markup) to contain each individual step in JSON format. Doc Detective can parse your doc content for these comments and build a test (and test spec) dynamically. Because the steps are stored in comments, they shouldn’t appear in your output.
Note: Doc Detective supports in-line tests in Markdown by default. To enable in-line tests for other formats, you’ll need to customize your configuration. (Contributions for format-specifid sane defaults are welcome!)
The following example renders identically to the raw text we saw earlier.
To search for American Shorthair kittens,
1. Go to [Google](https://www.google.com).
[comment]: # (step {"action":"goTo", "url":"https://www.google.com"})
2. In the search bar, enter "American Shorthair kittens", then press Enter.
[comment]: # (step { "action": "find", "selector": "[title=Search]", "click": true })
[comment]: # (step { "action": "typeKeys", "keys": ["American Shorthair kittens", "$ENTER$"] })
[comment]: # (step { "action": "wait", "duration": 5000 })

[comment]: # (step { "action": "saveScreenshot", "path": "search-results.png" })
The test and individual steps are exactly the same as in the JSON example, but both are supported to let content developers decide how and where to store tests for their workflows. In-line tests also enable semantics-driven tests, but that’s a topic for another day.
Now let’s run the test!
Run the test
Running the test is thankfully simple. Back in your terminal, run the following command, where <input_path> is the path to the JSON or Markdown file you wrote your tests in.
npm run runTests -- -i <input_path>
Doc Detective spins up a headless browser (meaning you won’t see a window), and performs the test. You’ll see a JSON report in your terminal when it’s done, as well as the report in a new JSON file starting with testResults-.
If a step in your test failed, you’d see a failure message in the step’s resultDescription field. This is a great way to debug your test runs and figure out what went wrong, which is the first step toward updating your docs or fixing your product.
But unless Google’s down, your steps, test, and test spec should have all passed! Also, you should see a new search-results.png file, which is the screenshot we automatically captured. With the new screenshot, kitten-search.md now renders like this:
Congratulations, you ran your first test!
What else can it do?
Doc Detective can interact with product UIs and APIs through a host of actions:
- checkLink: Check if a URL returns an acceptable status code from a GET request.
- find: Check if an element exists with the specified selector, check element text, and click the element.
- goTo: Navigate to a specified URL.
- httpRequest: Perform a generic HTTP request, for example to an API.
- runShell: Perform a native shell command, such as running a script.
- saveScreenshot: Take a screenshot in PNG format, including performing pixel diff comparisons between screenshots to monitor for visual changes.
- startRecording and stopRecording: Capture a recording of steps during the test. Supports
.webm,.mp4, and.gifformats. - setVariables: Load environment variables from a .env file.
- typeKeys: Type strings or special keys.
- wait: Pause before performing the next action.
With these actions, you can replicate and validate most UX flows described in your docs, programmatically capture images (and soon video) to supplement your text, and even run scripts to validate functionality that Doc Detective can’t cover on its own.
Doc Detective is incredibly customizable, with a robust config file that lets you set custom defaults and modify a host of behaviors to enable things like test coverage analysis for your docs.
Overall, Doc Detective can be an instrumental piece of your Docs as Tests implementation, especially to catch UX issues or changes in your product and to perform ongoing validations of your docs.
About the tool
Doc Detective is an open-source documentation testing framework. Doc Detective has multiple components to integrate with your workflows as you need it to:
- Doc Detective: A standalone tool to test docs against product UIs and APIs.
- Doc Detective Companion: A browser extension for Chrome and Firefox to help you build tests and find CSS selectors.
- Doc Detective Core: An NPM package that provides Doc Detective’s testing functionality.
Doc Detective is open to contributions, and you can join the chat on Discord. If you like what you see, you can ⭐ star the repositories on GitHub or ❤️ sponsor development via Open Collective or GitHub Sponsors.
Thanks for reading. If you like what you read here, sign up for the newsletter to stay up to date on Docs as Tests discussions, share this article with those you think would appreciate it, or sound off in the comments below.